Getting Started
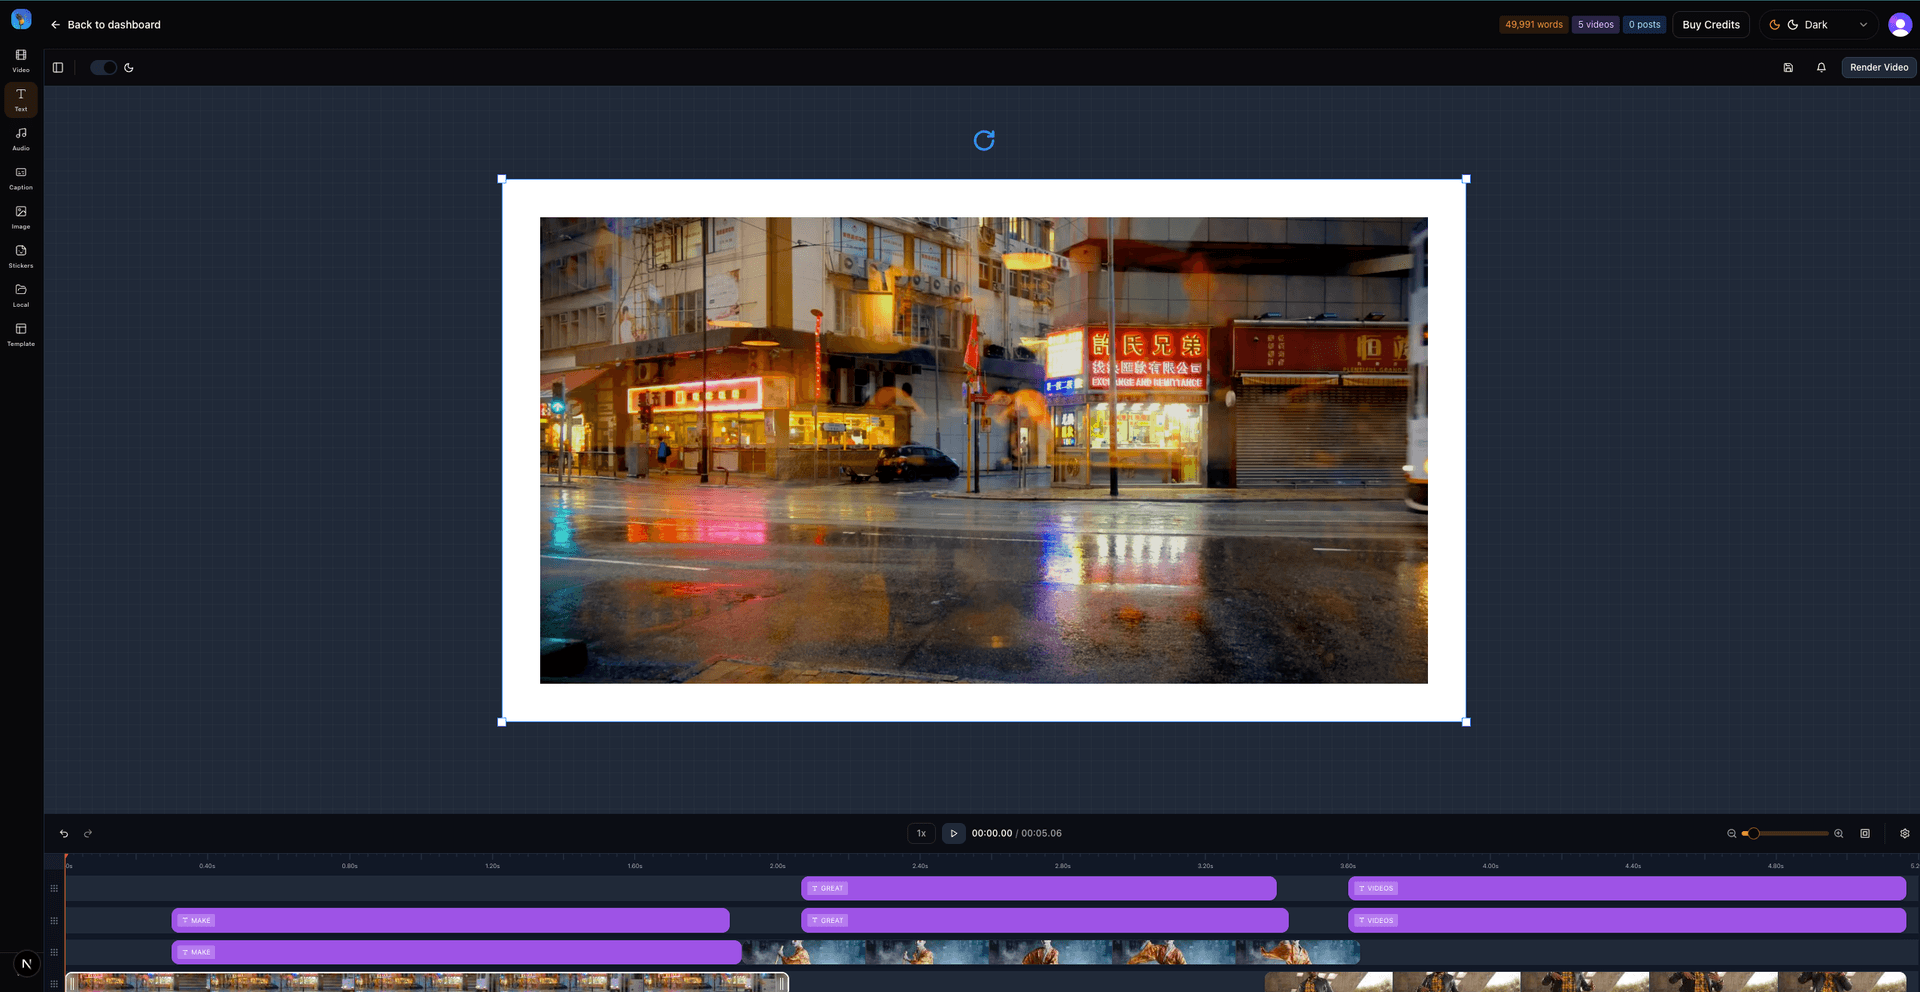
The Video Editor is a professional-grade timeline-based editor powered by React Video Editor and Remotion, designed to help you create engaging videos from your TTS audio, images, and video clips.
1. Import Your Media
Upload images, videos, or select from your saved TTS audio files. Assets appear in the left sidebar.
2. Add to Timeline
Click the + button on any asset to add it to the timeline. Clips automatically position sequentially.
3. Edit & Arrange
Drag clips horizontally to reposition, drag edges to resize duration, or drag vertically to move between layers.
4. Preview & Export
Use the play button or scrub the timeline to preview. Click Render MP4 when ready to export.
Timeline Features
Multi-Track Layout
- Narration: Audio track for TTS or uploaded sound files
- Captions: Text overlays and subtitles
- Visual Overlays: Images, logos, and graphics
- Callouts: Call-to-action banners and key phrases
- B-Roll: Video clips and cutaways
Timeline Controls
- Zoom: Use +/- buttons to zoom in for detail or zoom out for overview
- Play/Pause: Preview your video at any time
- Scrubber: Drag the red playhead or click the timeline to jump to any position
- Scroll: Horizontal scrolling for timelines up to 30 minutes
Clip Editing
Drag & Resize
Click and drag clips horizontally to move in time. Drag the left or right edge to change duration.
Move Between Layers
Drag a clip vertically to move it to a different layer. Right-click for more options.
Transitions & Effects
Right-click any clip to set transitions: fade, slide, zoom in/out.
Keyboard Shortcuts
AI-Powered Video Creation
Speakaholic's AI Wizard can automatically create complete videos from just a topic or rough idea. Our multi-agent system handles research, script writing, voiceover generation, visual asset creation, and timeline composition—all through a guided, step-by-step process.
- Complete Video Scripts: From a topic or outline, AI generates a natural, spoken-style transcript broken into scenes with proper pacing and flow.
- Visual Storyboards: Each scene gets visual layouts, shot types, and on-screen text suggestions optimized for your content.
- AI-Generated Images: Custom images created with DALL-E based on your script and scene descriptions.
- AI-Generated Videos: Short video clips created with Sora 2 for key scenes, bringing your script to life with motion.
- Professional Voiceover: High-quality TTS narration using Azure's neural voices, automatically chunked and timed to match your scenes.
- Complete Timeline: Everything automatically arranged on the timeline with proper timing, layers, and transitions.
Quick Start
- Click the AI Wizard button in the video editor sidebar
- Enter your topic and configure options (duration, voice, research style)
- Follow the 4-step wizard: Transcript → Storyboard → Assets → Timeline
- Review and revise each step as needed
- Click Save to Timeline to apply to the editor
For detailed instructions, screenshots, and best practices, see the complete AI Wizard guide.
Importing Media
Supported Formats
- Images: PNG, JPG, WEBP, GIF (up to 200MB)
- Videos: MP4 (up to 200MB)
- Audio: MP3, WAV from TTS or uploads (up to 25MB)
JSON Captions
Import captions in JSON format for auto-generated subtitles. The expected format is:
[
  { "start": 0, "end": 2.5, "text": "Hello world" },
  { "start": 2.5, "end": 5.0, "text": "Welcome to our video" }
]
Exporting Videos
Video Credits
Video rendering requires video credits. Each time you export a video, 1 credit is consumed from your account balance.
Note: Video credits are separate from word credits used for text-to-speech. Both types of credits never expire and can be used at your own pace.
Output Settings
- Format: MP4 (H.264)
- Resolution: Based on composition settings
- Storage: Videos are stored privately in Azure Blob Storage
- Access: Secure download links provided after rendering
- Click Render MP4 & Save to Azure
- The system validates your timeline and credits
- Rendering begins (typically 30-120 seconds)
- Video is uploaded to Azure Blob Storage
- Download link appears when complete
Tips & Best Practices
- Start with audio: Import or select TTS audio first to establish your timeline duration
- Layer clips don't overlap: Clips on the same layer automatically position after each other
- Preview often: Use the preview canvas to see how overlays appear at different times
- Use zoom: Zoom in for precise editing, zoom out to see the big picture
- Right-click for options: Context menu provides quick access to transitions and layer moves
Troubleshooting
Timeline appears compressed
Use the +/- zoom buttons to adjust the timeline scale. Default is 50px/second.
Can't add clips to timeline
Make sure you've uploaded assets first. Click the Add Assets button, then click the + icon on any asset thumbnail.
Preview shows "No audio selected"
The preview works without audio. If you don't see your clips, make sure they're on visual layers (not Narration or Captions).
Export button is disabled
You need at least 1 video credit to export. Purchase credits from the Pricing page.
Need More Help?
If you're experiencing issues or have questions not covered here, we're here to help.
Contact Support